Search This Blog

Showing posts with label affordable. Show all posts

Sunday, March 13, 2016

Spring Decorating on a Budget!


I can't believe Spring is just around the corner! For weeks I've been working on creating DIY projects with you guys in mind. Per my usual style, I was determined to do this in the most affordable way possible without it coming across as cheap-looking.  I was able to decorate 6 areas of my home and, in total, everything cost me no more than $30 + only 2 trips to Michael's & Hobby Lobby!

You will need the following materials:
(Everything shown below was 40-50% off, ranging from $0.74-$3.59. I was able to use each piece for every project listed)


Mantel
Easy DIY Floating Mantel UNDER $20!!
Simply fill vases of differing heights and shapes with different colored flowers, greenery, and succulents. Pick colors and textures that contrast yet compliment one another.
DIY Refurbishing Antique Glass Bottles
I also intertwined vines along the top of the picket fence.
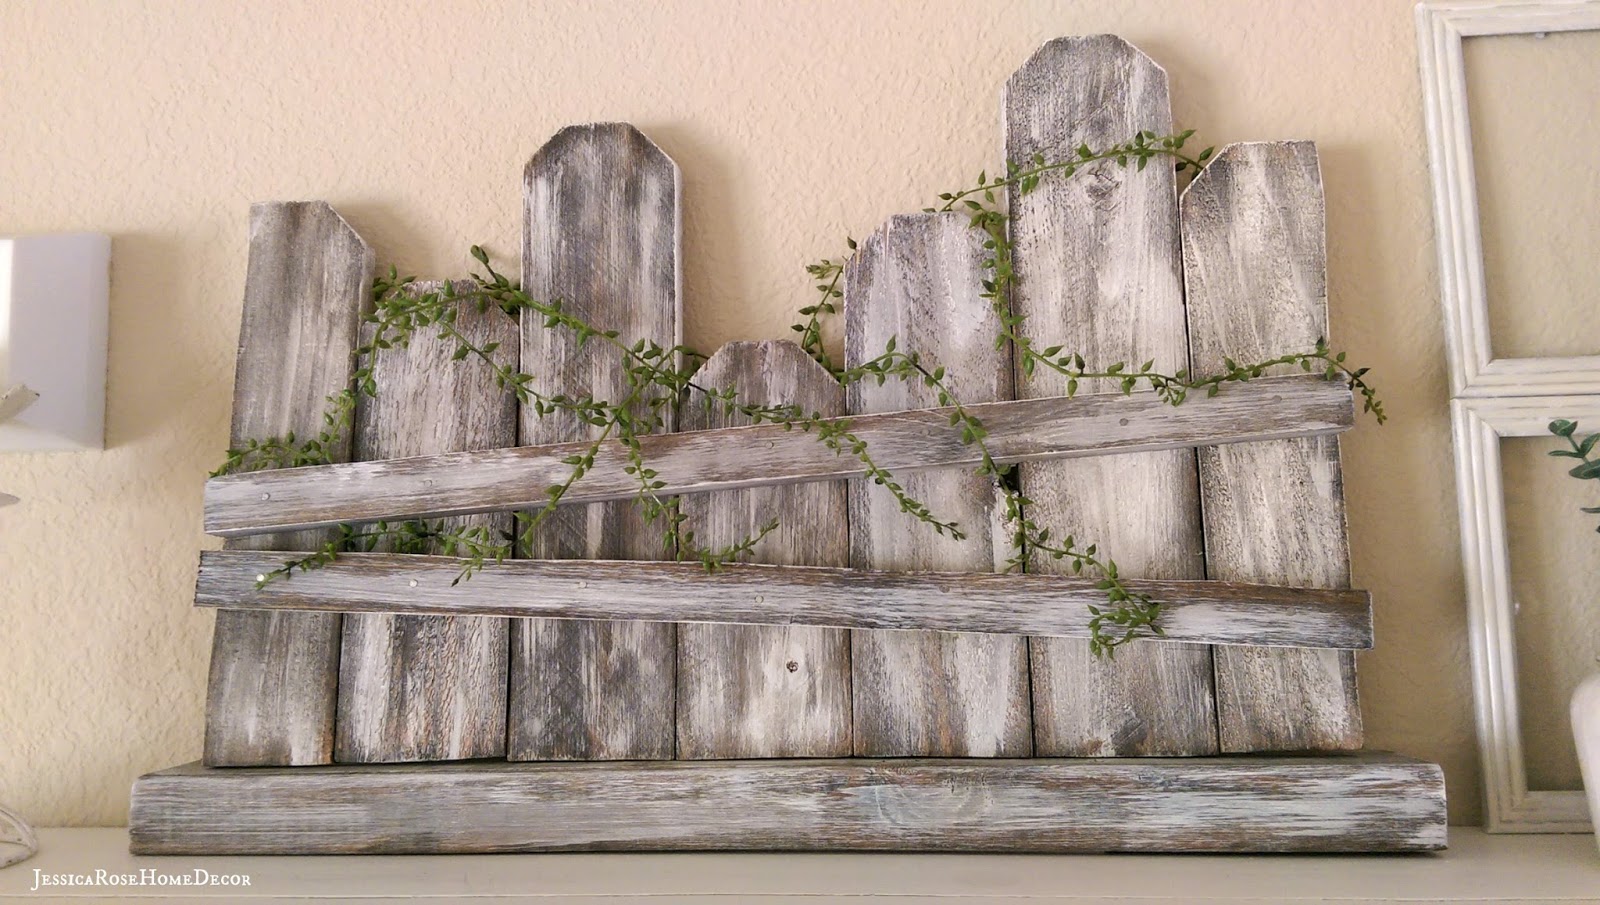
DIY Weathered Picket Fence

Kitchen Bar
For the center of my kitchen bar, I created this DIY Spring Flower Box, which I've dedicated an entire tutorial to linked HERE. I will also link my tutorial on how I made my flower trough for **ONLY $2** if you're interested HERE.  I incorporated cascading vines, a mixture of wild flowers, and succulent-looking leaves.

For the end of the bar, I filled my vase with lavender, and placed succulents & white buds in a glass bulb.

Kitchen Counter
I went very simple using white flowers with pops of light green, and another glass bulb filled with that same hue of light green succulents & white buds
I complimented the arrangement with cooking wine (also light green) and my wood pepper grinder.

Stovetop
Succulents on succulents :)

Kitchen Island
I used these two leftover pieces to fill my antique measuring tin.


Bedroom (or Bathroom) Shelf
How To: *Rustic Window* Using Dollar Store Picture Frames!
I used (some of) these pieces to fill the mason jar and mini-water jug.

I was able to decorate 6 AREAS of my home for only $30!! That's a DIY Crafting win in my book :)


Sunday, February 14, 2016

DIY Spring Flower Box


I know it's no where near Springtime, but oh how much I miss color in my home! I enjoy the coziness of Winter, but it has come to that time in the season when I become desperate to see flowers blooming and trees budding. My first project for Spring focuses on my flower trough. I will link my tutorial on how I made my flower trough for **ONLY $2** if you're interested HERE >> http://jessicarosehomedecor.blogspot.com/2015/07/diy-wood-flower-trough-box-under-2.html  For a few weeks now, I have envisioned recreating a mini-flower box that incorporates cascading vines, a mixture of wild flowers, and succulent-looking leaves. This is what I came up with :)

You will need the following materials:
Pink & Yellow flowers - Michael's - Full Price: $3.99 each - On sale: $2.39 each  |  Vines - Hobby Lobby - Full Price: $3.99 each - On Sale: $1.99 each  |  Lilacs - Michael's - Full Price: $1.79 - On Sale: $1.07
Left - Michael's - Full Price: $4.99 - On Sale: $2.99  |  Right - Hobby Lobby - Full Price: $3.99 - On Sale: $1.99
Flower trough  |  Flower foam  |  Moss  |  Glue  |  Sponge  |  Wire Cutters
 First, apply glue to the top of your foam - spread evenly across with a sponge brush. Add moss atop the glue and cover as much of the exposed foam as possible. Don't worry if you can't get everything - the flowers will cover up the rest.

Let dry for an hour. Turn over and shake off the excess moss. Place your flower trough over it. Then, begin adding the vine pieces one by one. Insert in the space between the foam and the wood box. Cascade them down the sides of the box for a natural effect.

 Finally, insert the rest of the flowers into the foam. Make sure the flower placement is random in order to keep with the "wild flower box" theme. Adding a lot of greenery gives off the appearance of weeds, which is one of the main characteristic of wild flowers - so don't underestimate their influence! Also avoid making all the flowers the same height in order to add depth and dimension.


Tuesday, December 15, 2015

DIY Christmas Shelf Wreath


My staircase shelf was seriously lacking some holiday spirit. I didn't want to buy anything new (I dread going to the shops during the holiday season), and per my usual style I wanted to create something myself. When I realized I had so much leftover material from my Craft Beer-Inspired Christmas Wreath I decided to make another wreath, but with a twist.

You will need the following materials:
The majority of the items on the left were leftover pieces I've had for years now. I newly purchased the 4 items on the right from Hobby Lobby - Bauble stems: $0.77 each | Wreath $2.50 | Bronze pine cones: $0.50 | Evergreen stem: $1.00
These were the leftover materials I used from my Craft Beer-Inspired Christmas Wreath (shown new). 2 Evergreen stems on left: $3.99 each - Michael's | Evergreen stem on right: $2.50 - Hobby Lobby | Glittery hop stems: $0.75 each - Michael's
Taking wire cutters, place as shown:
Add your glittery & colorful pieces. Secure everything using a hot glue gun.

Add accent pieces...
 ...and you are done!

No shelf space? No problem - this can be used as wall decor too!